Eye Makeup Step-by-Step Guide so That Every Woman Can Look like a Dream at a Wedding
Headed to your BFF's pre-wedding functions and need to do your makeup yourself? Read this eye makeup step-by-step guide and get things done like a boss woman! Read on, follow these steps and you’re good to go!
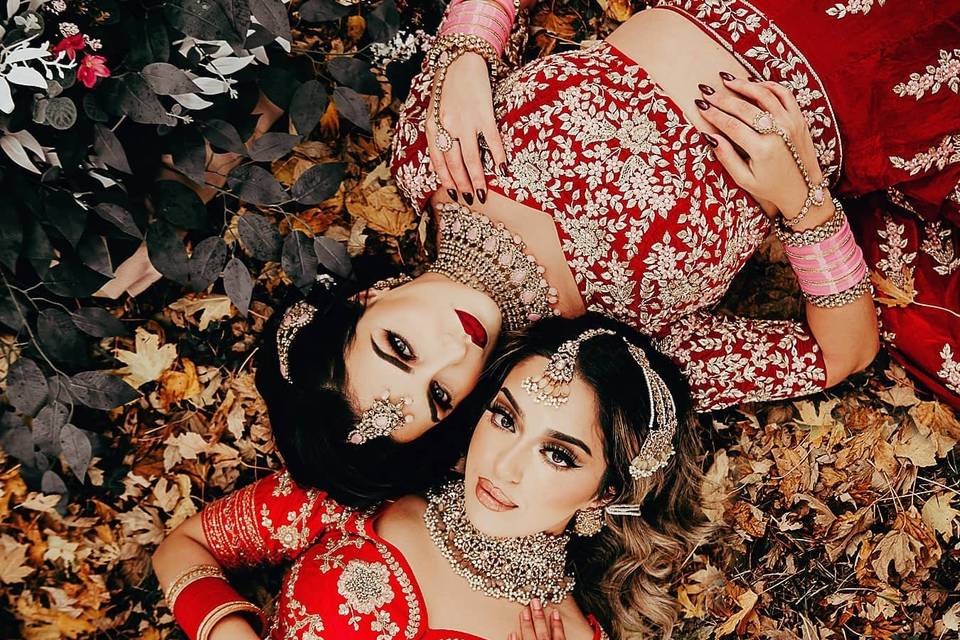
After the family, it is the bridesmaids who are next in line who need to look ravishing to take the wedding functions by the storm. If you happen to be one at your BFF's wedding and don’t have the time to visit a makeup salon then this article is your calling. Follow this breakdown of eye makeup step-by-step guide and become your own MUA.
1. Eye Makeup Step-by-Step Guide for Applying a Base Primer
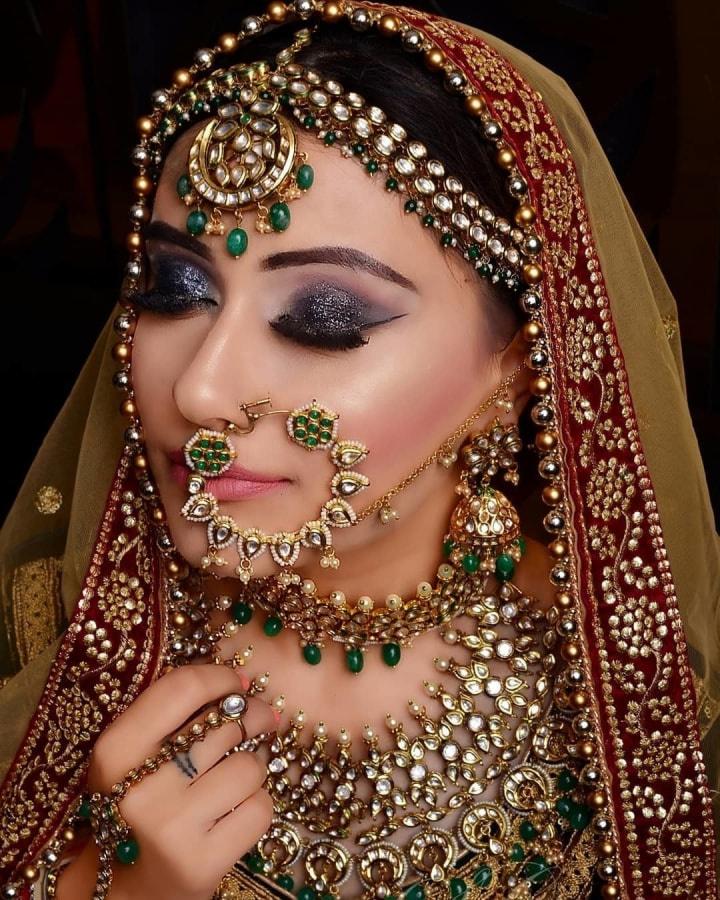
Apply a base primer even before you begin thinking of prepping your eyes. This will even out your skin tone and prepare for the multitude of things that you will now cater to, to get eyes that will kill a few as you strut your way around the wedding venue.
- Apply thin dots of primer on your face
- Even out using your fingers
- Pat until it appears even
2. Eye Makeup Step-by-Step Guide for Applying Concealer
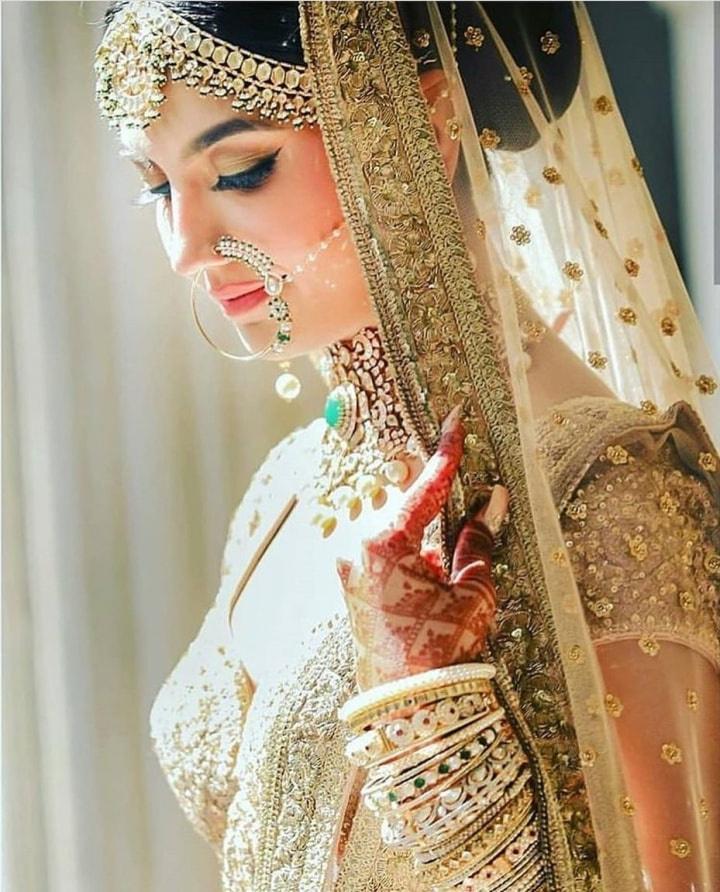
Image Courtesy: Simran Takkar
Thanks to our lifestyles, each of us has under eyes bags form those never-ending all nightery sprints to get work done. If you happen to have them right before your friend’s Haldi function, then the mighty concealer is going to be your knight in the shining armour.
- First, you will have to even out the colour of your under-eye skin and match it with that of your skin tone
- Apply it in dots or in a triangular shape that faces downwards towards your chin
- Pat, it out to evenly spread. Use a finger for doing so and keep doing until it spreads evenly
- If you think you got a job well done, then great move on to the next step
3. Eye Makeup Step-by-Step Guide for Applying Eye Primer

Primer is the God of all makeup products! Using eye primer is the key if you wish for your makeup to stay put for long hours, even when you dance the night away! If you want a smooth looking under the eye and upper eyelids and don’t want your makeup to have a free fall, then prime it up!
- Put a few drops on the area over and around your eyes
- Blend it using a synthetic based brush (use t once and you’ll know why is insisted on it)
4. Eye Makeup Step-by-Step Guide for Applying Eyeliner

Image Courtesy: Aanal Savaliya
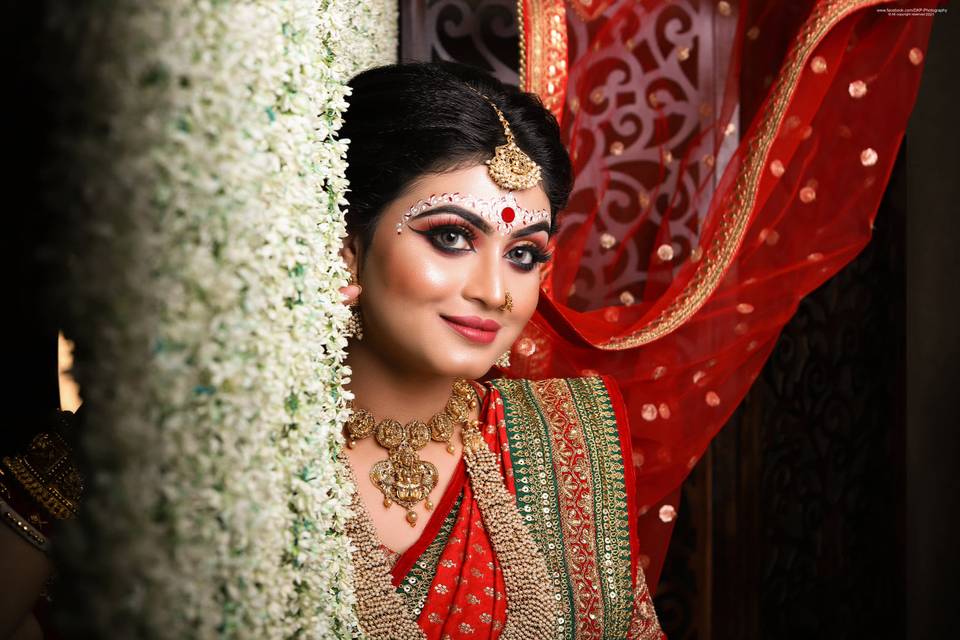
Nothing gives definition to your eye than a finely applied winged eyeliner. Winging is entirely optional, but we say you go for it girl! Entice all the boys in your winged lines!
- Liquid, gel or stick – use a liner that you are most adept at using
- Line your eyes as close to the upper lid as possible
- If you want a wing, then start from the outer eye region
- Make a slant line towards the outer eye region and draw a line until you reach your inner eye
- Fill the gap
- And voila, you’re ready to slay
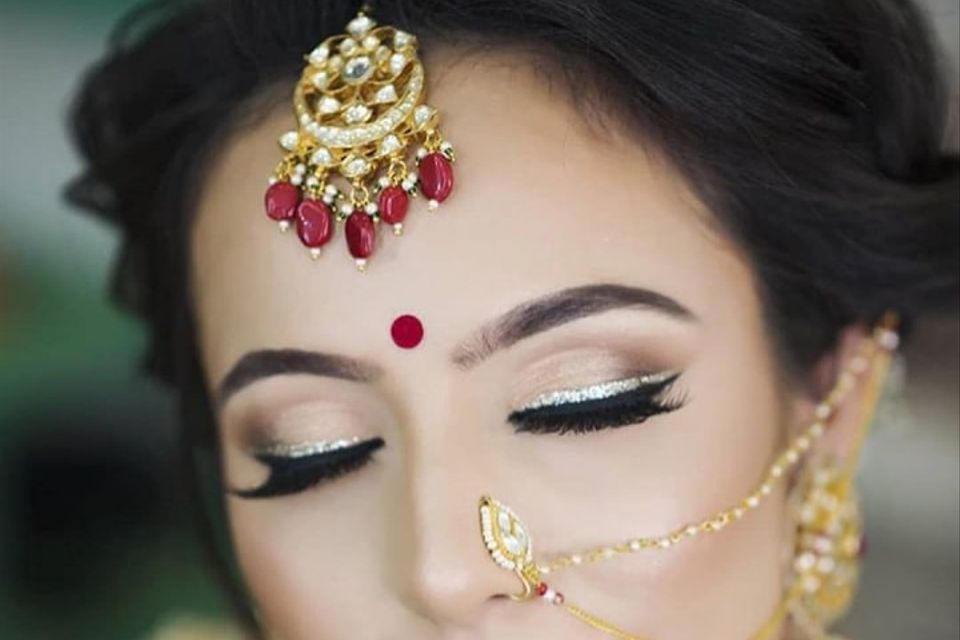
5. Eye Makeup Step-by-Step Guide for Applying Eye Shadow
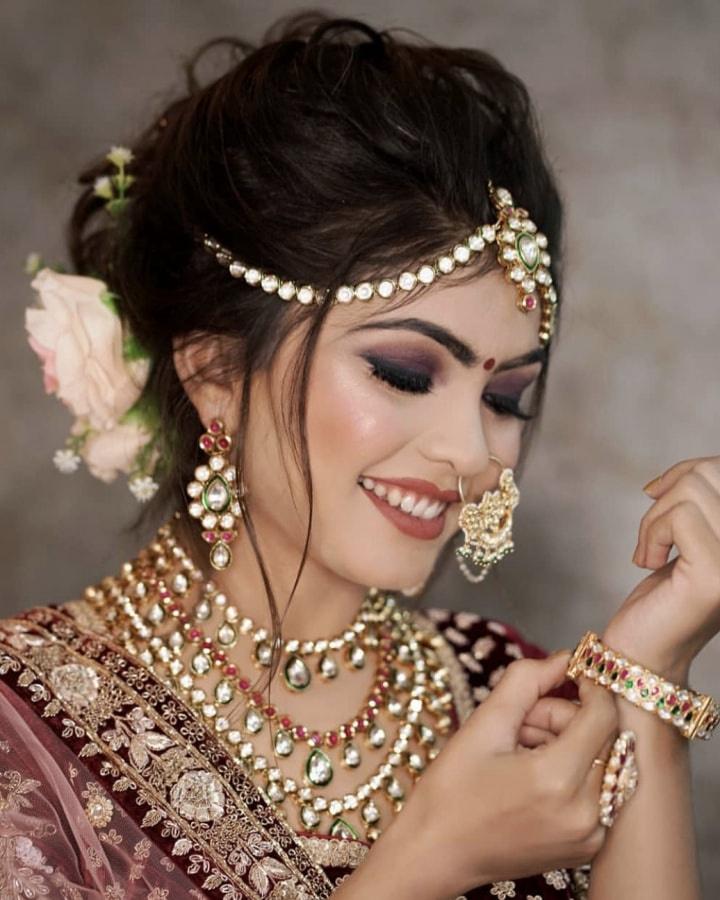
Image Courtesy: Aanal Savaliya
Dramatic or not, neutral or metallic, it is an endless sea of possibilities when one even begins to think of applying an eye shadow.
- If you want a light day time look, then pick a neutral shade that matches your outfit
- Dab a little eyeshadow on your upper lid
- Using a brush, start blending it till it looks natural and evenly spread
- Use a blotting paper to get rid of the excess eye shadow
- If you want a little dramatic eye shadow, then you can opt for a multi-layer blending
- If you are picking two shades of eye shadow, then and build from the lids to brow
- Pick the lighter shade first and blend until it matches your skin tone
- Follow the same with the second colour but ensure that you draw the line only across your lid
- If you want a third base and dimension, then blend that colour on the crease of your eyebrows
6. Eye Makeup Step-by-Step Guide for Applying Highlighter
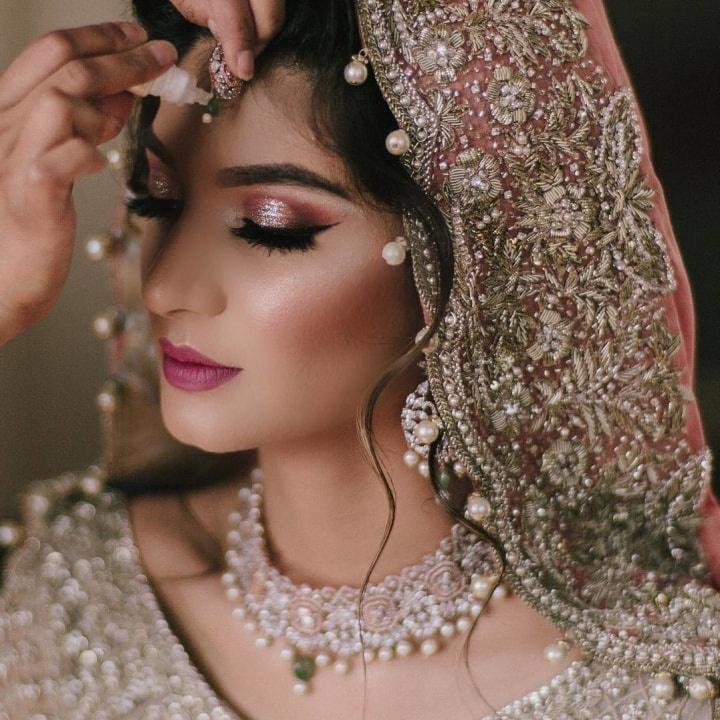
Image Courtesy: Dollhousechi_
A god sent trick that each one of us should use if we want glossy and over the top eyes.
- Put a bit of your lightest eyeshadow in the inner corner of your eye
- Using a brush or a finger, dab a little eyeshadow one that is the brightest form your palette and do it on the inner eye corner
- And, boom there you have a pop instantly
7. Eye Makeup Step-by-Step Guide for Applying Highlighter on Your Brow
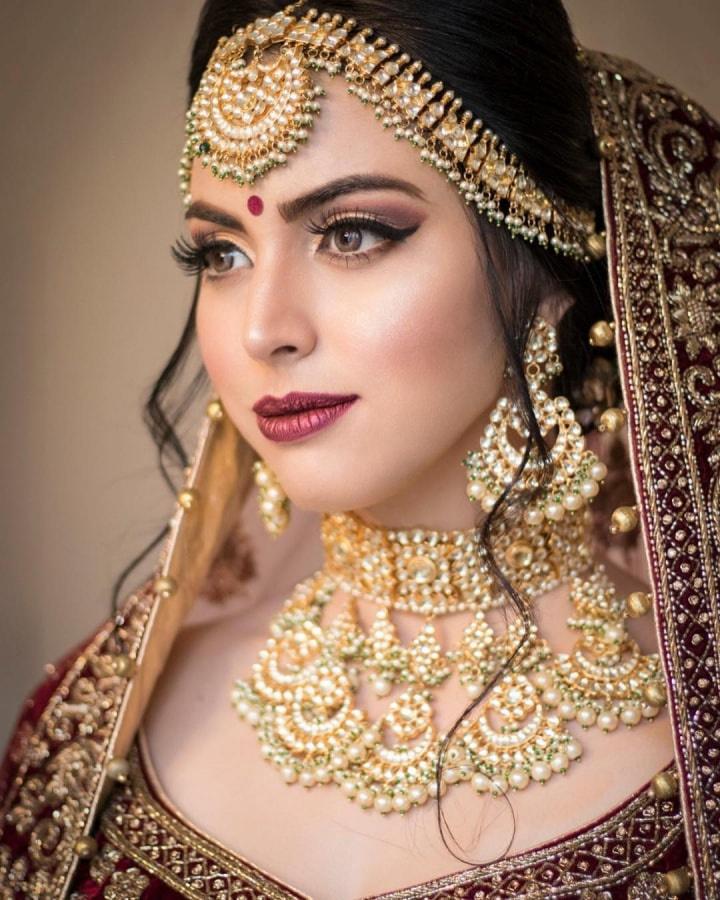
Follow the same to accentuate your brow bone.
- Take the same light eyeshadow
- dab it on your brow bone
- The key is to accentuate the mid-brow region moving outwards
8. Eye Makeup Step-by-Step Guide for Curling Your Lashes
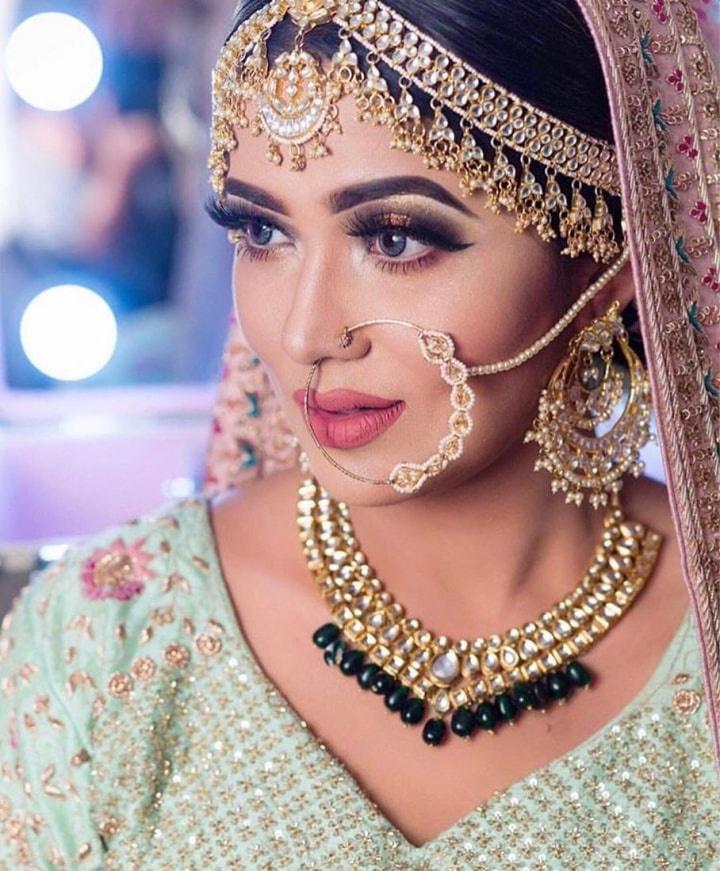
Image Courtesy: Ishrat Amin Photography
Entice them in your long lashes!
- Blow a burst of hot air for no more than three seconds onto your eyelash curler
- Use it to curl your lashes
- Before you put it to your face, ensure it is not unbearably hot
- Finish the look by using a mascara that adds extra volume to your lashes
- place the wand of your mascara brush at the bottom of lashes and wiggle back and forth until you see an evenly and thin coat of mascara
- Using a blotting paper, blink on it a couple of times to get rid of the excess
We hope this eye makeup step by step guide gave you the courage to attempt doing your makeup yourself before you hit the dance floor at your BFF's Sangeet. Follow this breakdown of steps and become your own maestro!
Would you follow this eye makeup step by step guide to do your own makeup? Tell us through the comments!

