Here's How to Do a Manicure at Home & Say Goodbye to Salon Sittings
Who cares if the salons are closed when you know how to groom your nails all by yourself? So read through this guide on how to do a quick manicure at home easily.
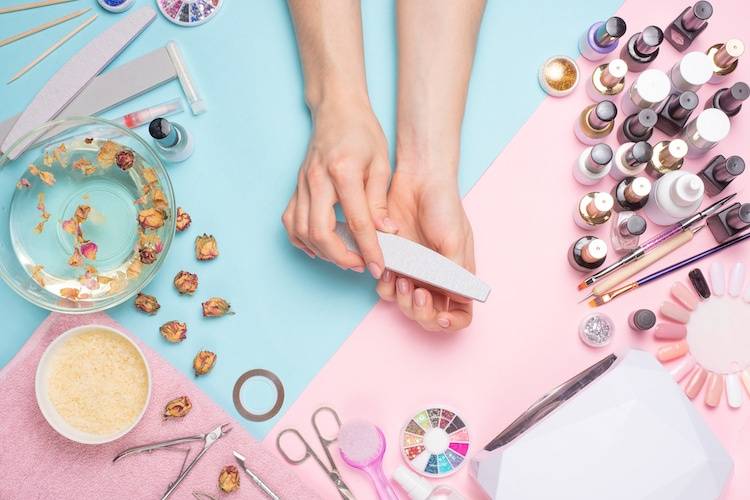

Image Credits - Mymodernmet
We know this lockdown period has not been easy on you and your nails (thanks to the mountain of piled up utensils waiting to be cleaned, in your kitchen). We have put together a step by step manicure at home guide to share some DIY nail care remedies and help you realise that you do not need expensive salon trips all the time to make yourself look pretty and groomed. You are enough to help yourself! So let’s get started, without further ado.
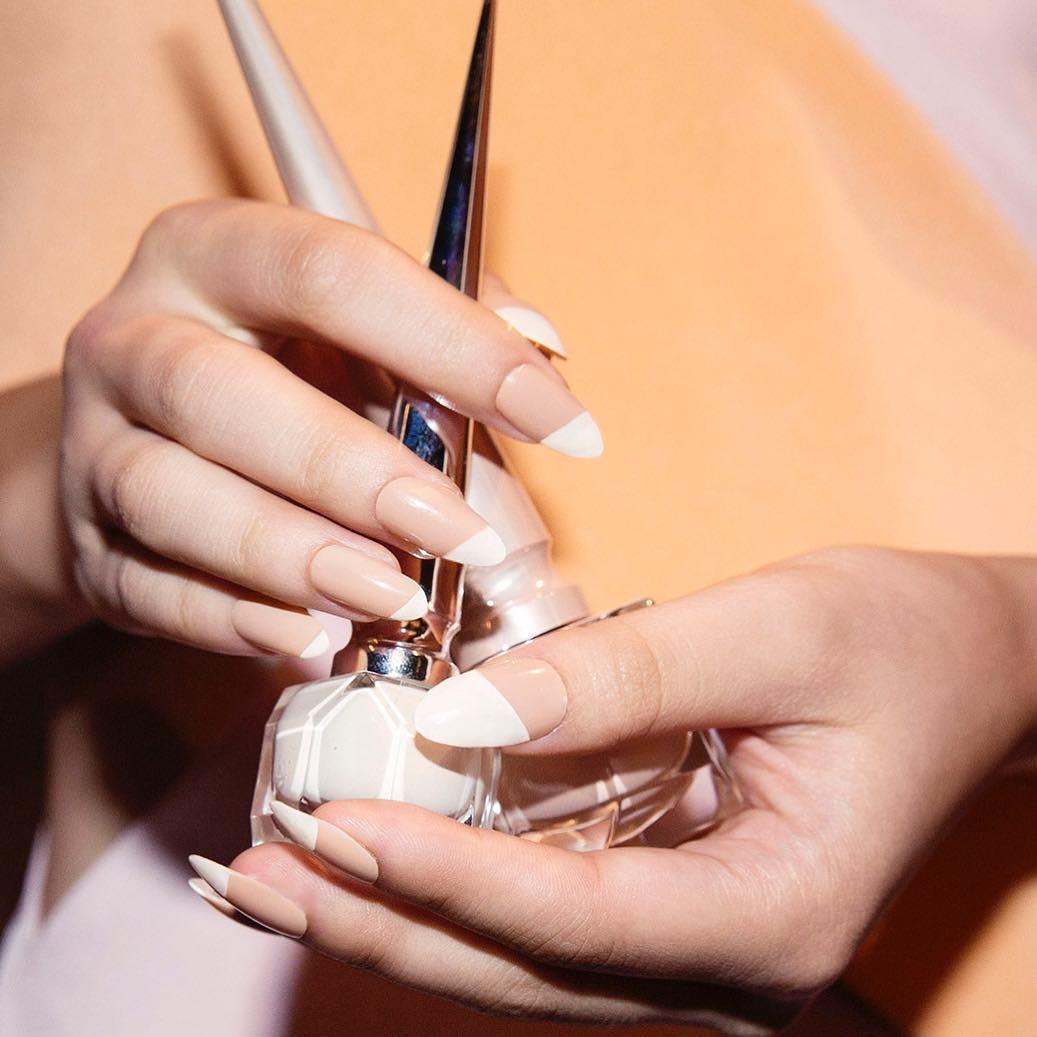
Image Credits - Alicia Torello
Things that you need before beginning your manicure at home:
- Nail Polish Remover
- Cotton pads or cotton balls
- Nail Trimmer or nail cutter and Nail File
- Nail Buffer
- Cuticle stick or cuticle pusher
- Cuticle cream
- Exfoliating body scrub cream
- Hand cream or Moisturiser
- Transparent nail paint
- Nail paint or Nail colour of your choice
While we’ve penned down all the tools and products you’ll need to set out on your journey of achieving salon-like manicured nails at home, your job is to gather them all and get ready with your manicure at-home kit.
So let’s begin:
Step 1. Clean your nails with Nail paint remover
To begin with your manicure, the first thing you need to ensure is that there are no traces of your old polish left on the nails. And even if there’s no polish on your nails, it’s advisable to wipe off the nail with a nail polish remover which doesn’t have acetone in it to get rid of any natural oil or dirt since acetone-based removers damage and dry out the skin around the nails.
Now that your nails are all clean, time to head to the next step for your manicure at home with natural products.
Step 2. Clip and file your nails
This step is very crucial in achieving the final manicured look of the nails you are working for since you are going to work on the shape and size of the nail in this step. Decide on the length of the nails you want and then trim them with the nail clipper. Our recommendation is to not go too short with your nails, especially when you have made an effort to grow your nails, as it will affect the final outcome. After you’ve clipped your nails, smoothen out the harsh edges or lines left behind by the clipper using the nail file. Hold the nail file slightly diagonal and start filing the edges in one direction smoothly instead of going back and forth excessively since you do not want to over file and weaken the fibres in your nails. File gently to achieve the kind of shape you want- perfectly square or square with round edges or perfectly oval.
Step 3. Buff your nails with Nail buffer
It’s time to smooth out the surface of your nails for your nail polish to have an even base to glide on. Use a nail buffer and apply gentle pressure to smooth out the ridges. Buff the top and then the sides of your nails but make sure you do not press too hard or else you might thin out the surface of your nails too much. This can also let the natural oils present in your nails build up to the extent that it gets difficult for your polish to stick onto your nails.
Step 4. Push back your cuticles
There are certain important points to consider in this particular step to manicure perfectly well at home. To soften your cuticles, you need to apply a cuticle cream onto your nails and massage it gently till it does its job and softens the cuticles, enabling you to push them back.
If you do not have a cuticle cream, no worries, we have an alternative for you. Soak your hands in a bowl of warm water and soap for good 5-6 minutes. This is a great tip for manicure at home to soften your cuticles and makes them easier to push back.
Now use a cuticle stick or an orange stick to push back the cuticles towards your skin. Avoid cutting the cuticles and instead push them back because cuticles protect your nails from all kinds of infections.
Step 5. Exfoliate and massage your hands and arms
This is one of the most satisfying steps in your manicure procedure. Start by using a scrub and exfoliating your hands and arms. If you wish you can prepare a home-made scrub with lemon juice, rice flour and oat milk to lighten and brighten your skin. This way you can do a de tan manicure at home. You can use any scrub of your choice from a wide variety of home remedy packs available online to address a specific issue you want.
Give your hands, arms and nails a generous amount of moisturisation. Use a hydrating cream that suits your skin type and massage gently for 5 minutes. Massage your nails as well and give them the hydration they need. After giving time to the cream to soak in, take a dollop of nail polish remover on the cotton ball and remove any extra lotion left on the nails that might prevent the nail polish from sticking well.
Step 6. Paint your nails
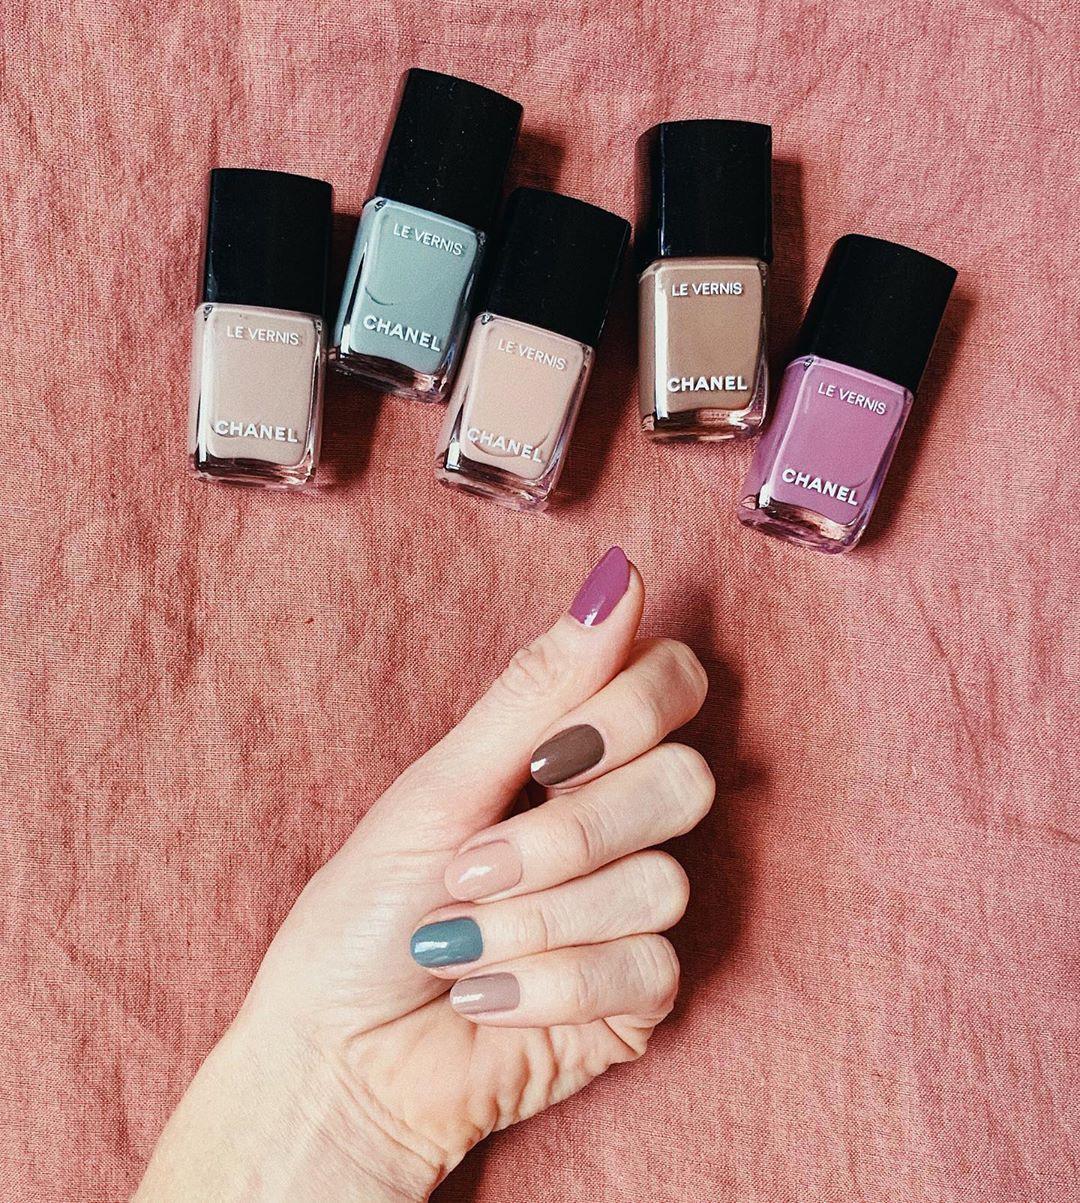
Image Credits - Madeline Poole
The final result of your manicured nails will mostly depend on how patiently and accurately you worked on getting the nails painted.
- Apply a base coat- Carefully apply an even coat of a transparent nail colour. It is very important for your nail paint to have a smooth base and it also prevents the nail paint from staining your nails.
- Apply the first coat of your nail colour- Choose a nail paint and apply the first coat. A full-coverage application of the first coat is very important to get a good finish. The perfect way of applying it is a three-step process
- One stroke vertically down through the middle of your nail
- Next stroke vertically down painting a stripe on the right side of the nail
- Last stroke vertically down painting a stripe on the left side of the nail.
This way you ensure an even coat of paint all over your nail. Following this systematic way ensures that you don’t go into the drill of putting a large drop of paint and trying to spread it all over. Also, make sure that you have placed your hands on a sturdy surface while painting as it will increase your chance of painting the nails more precisely.
You can also use a gel nail paint as suggested in most nail art videos, instead of a normal nail paint and do gel manicure at home.
- Apply the second coat - This coat generally takes a little more time to dry up so you make sure you wait patiently for it to dry up completely. It’s important that you follow the same three-step procedure to apply the second coat as well and move to the next and the final coat only after it’s dried up completely.
- Apply the same transparent coat to finish up - This is the last coat of your quick manicure at home procedure and it’s important to not skip this last coat to get a glossy finish to your nails. It also avoids the paint from chipping off easily.
Step 7. Clean up the sides of your nails
Touch up the sides of your nails if by any chance you’ve messed up a little and smeared some of the polish on your skin around the nails with the help of a clean earbud or a cotton swab dipped into the polish remover and Voila! You are done! Look for some fancy and latest nail art designs and hit the salon, only after you have given your nails the much needed manicure.
Now that doing a manicure on your own no more seems like a task, tell us are you going to save a little instead of splurging by giving it a shot at home this quarantine?
- Words by Gargi Rastogi

